Still recovering from the shock of watching Scram get sucked into the wild Shard, Zola battles the orc skeletons, who appear to have been resurrected by a wave of energy from the strange green gem. Taking a Coward’s Surge (an action surge where you dash as your extra action), she flees and finds Captain Styx and the crew in dire straits. Following Captain Styx’s advice to get back onto the Feral Free, they both escape the ghostly ship as it sinks into the Mare Emara.
Onboard the Feral Free, Zola yeets as many skeletons as she can overboard while the crew fends off their undead invaders. A harrowing battle ensues, with both Zola and Captain Styx being knocked unconscious three times each, but thanks to Zola’s orcish resilience (and Flambe’s pool of eldritch healing), the two are kept alive long enough to help scatter their attackers’ remains into the sea.
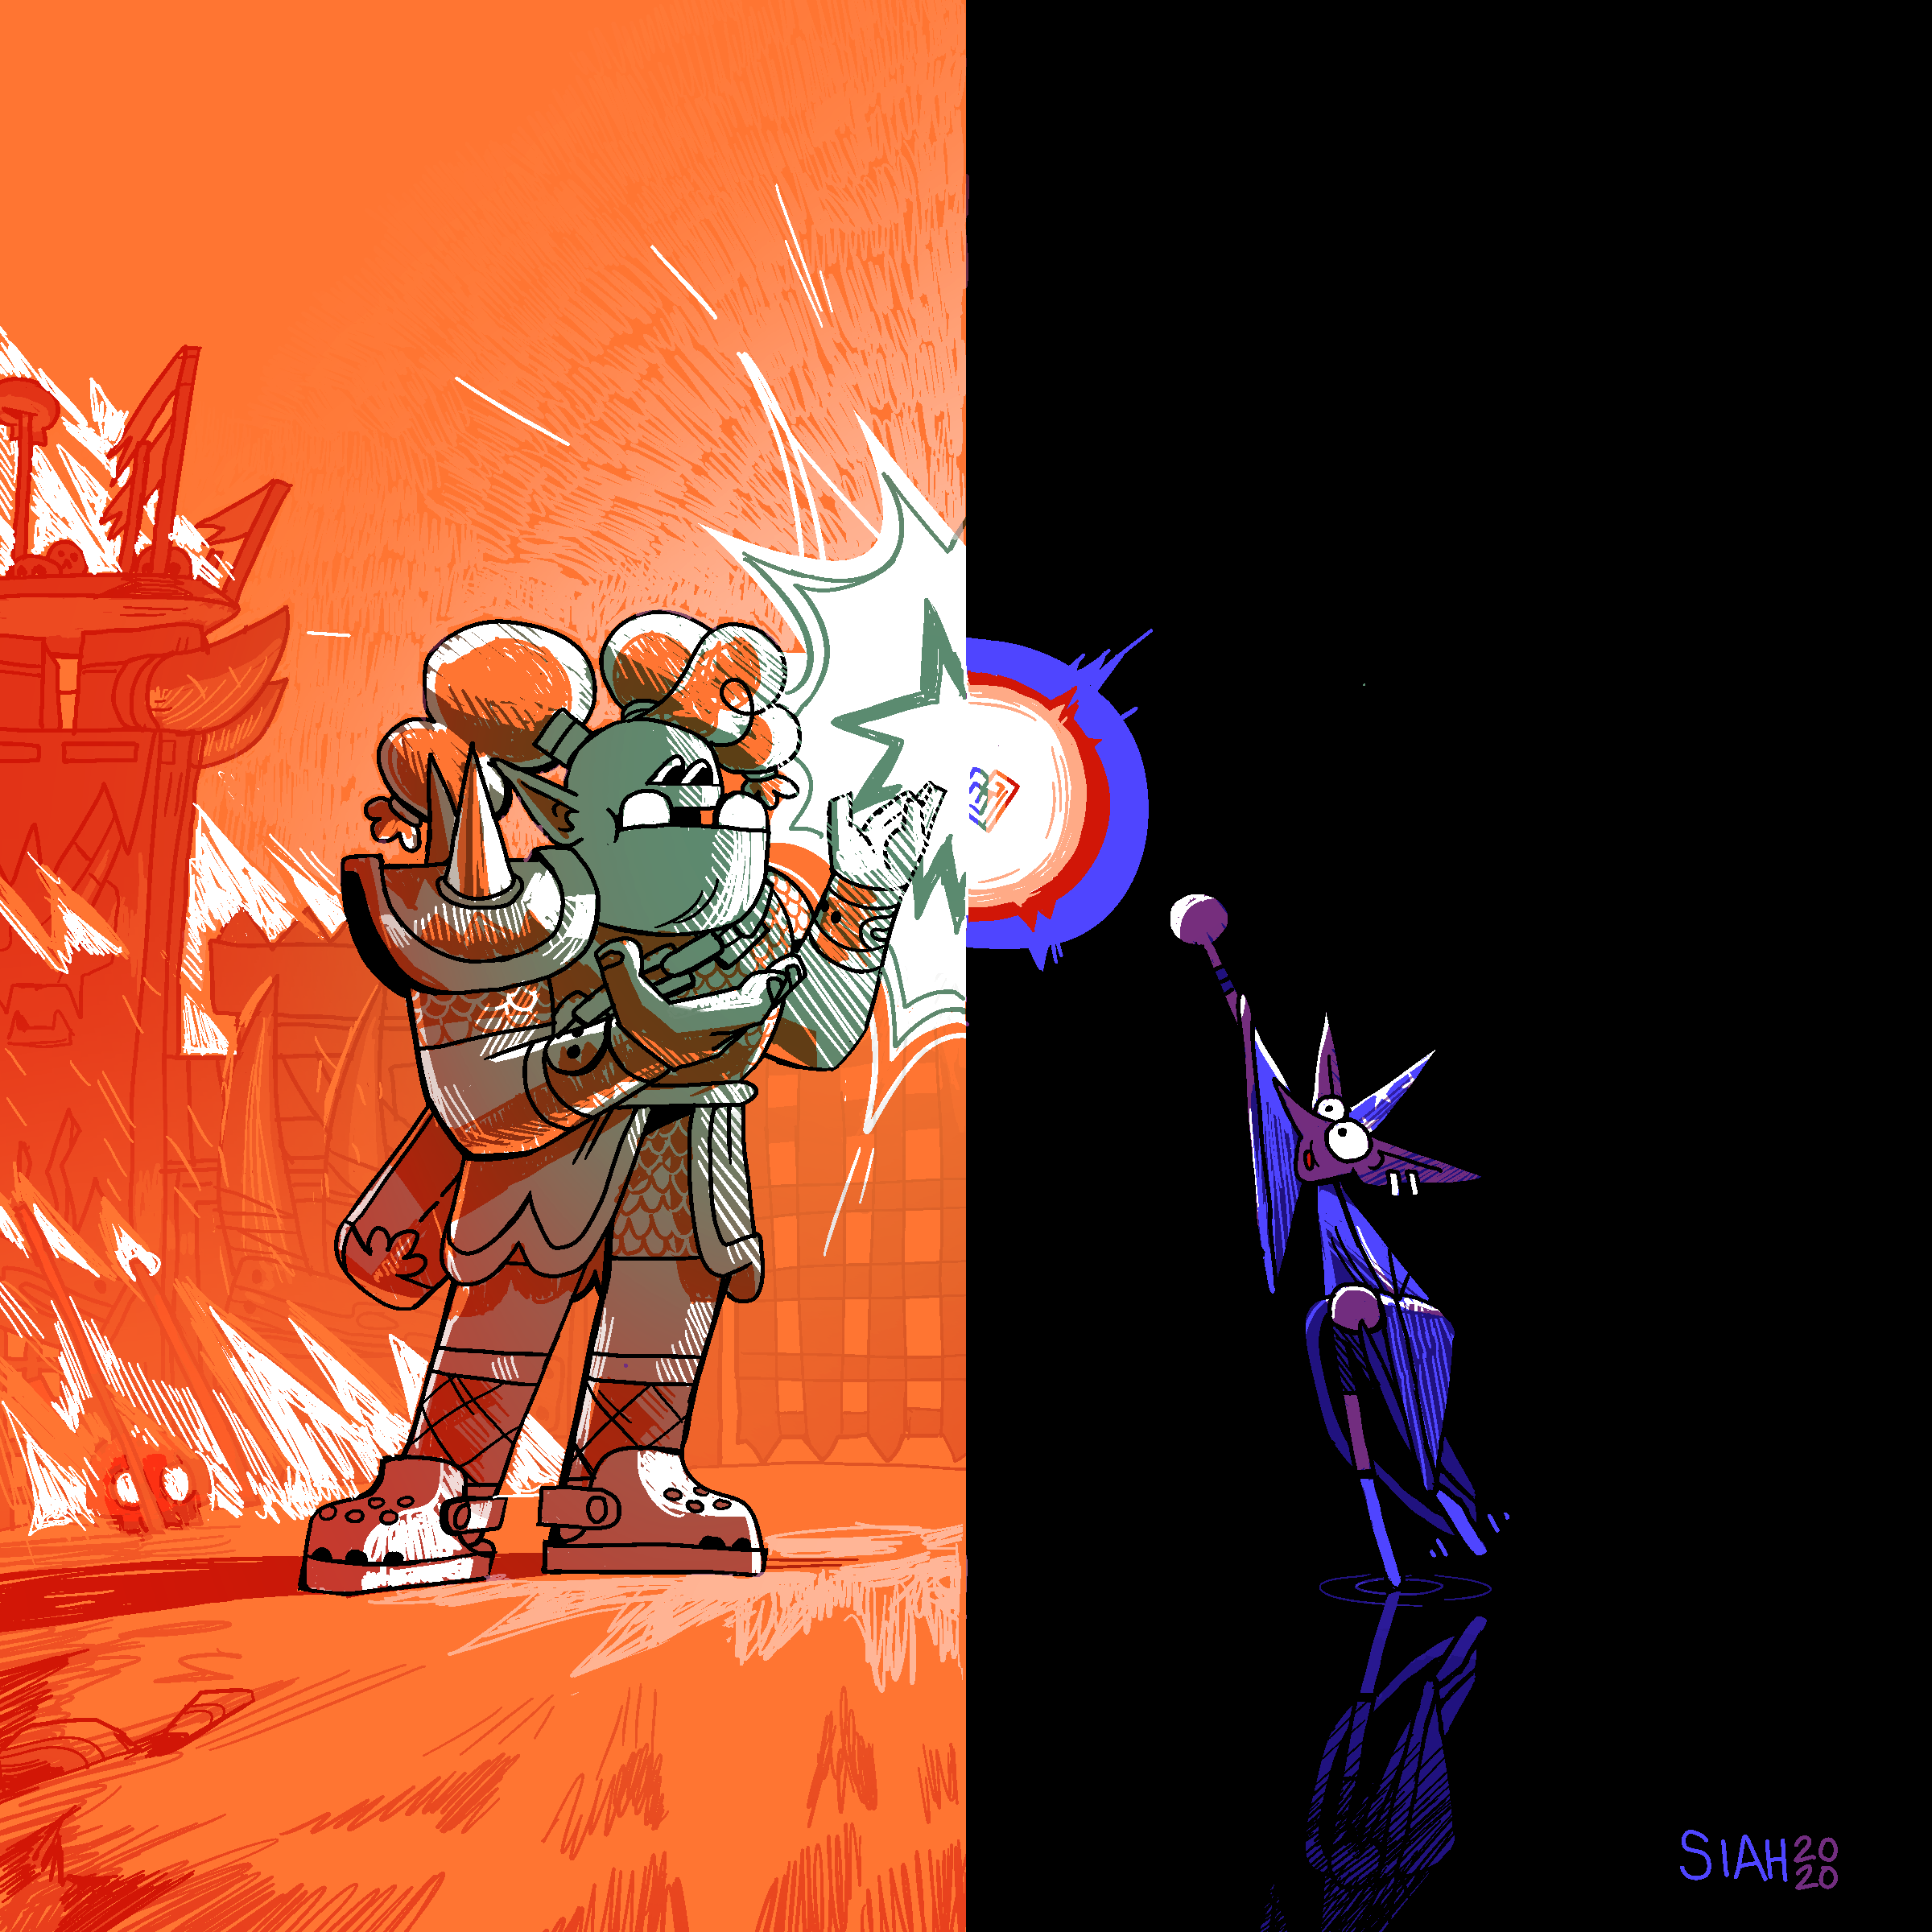
With the skeletons… repelled a ton… (this is Noah’s pun, not mine), Zola and the crew resume their travels south, reeling from the unexpected combat. Captain Styx brings Zola into her office, and apologizes for putting her (and Scram) in danger. She inquires about their pasts, and the strange Shard that Scram had been holding. Zola explains as much as she knows herself about the Shard, then is given the day off to recover from seeing her only friend… killed? Trapped? Scram’s fate seems uncertain, and Zola comes away from the encounter with added loot, but less one friend.
Thinking of Scram, Zola rests in the crow’s nest with Lyre, before heading down to have supper with the crew, who are about as kind and sensitive to the distraught teen as pirates get. Night descends upon the Feral Free, and feeling empty from loss, Zola heads to the bow for Cicirose’s quiet company. There, Cicirose shares a spliff with Zola, expressing her sympathy and also complimenting Zola’s battle maneuvers. With the stars glittering up ahead, Zola nods off…