ARC I: PADDLEWICK PROBLEMS
Episode-by-episode recaps:
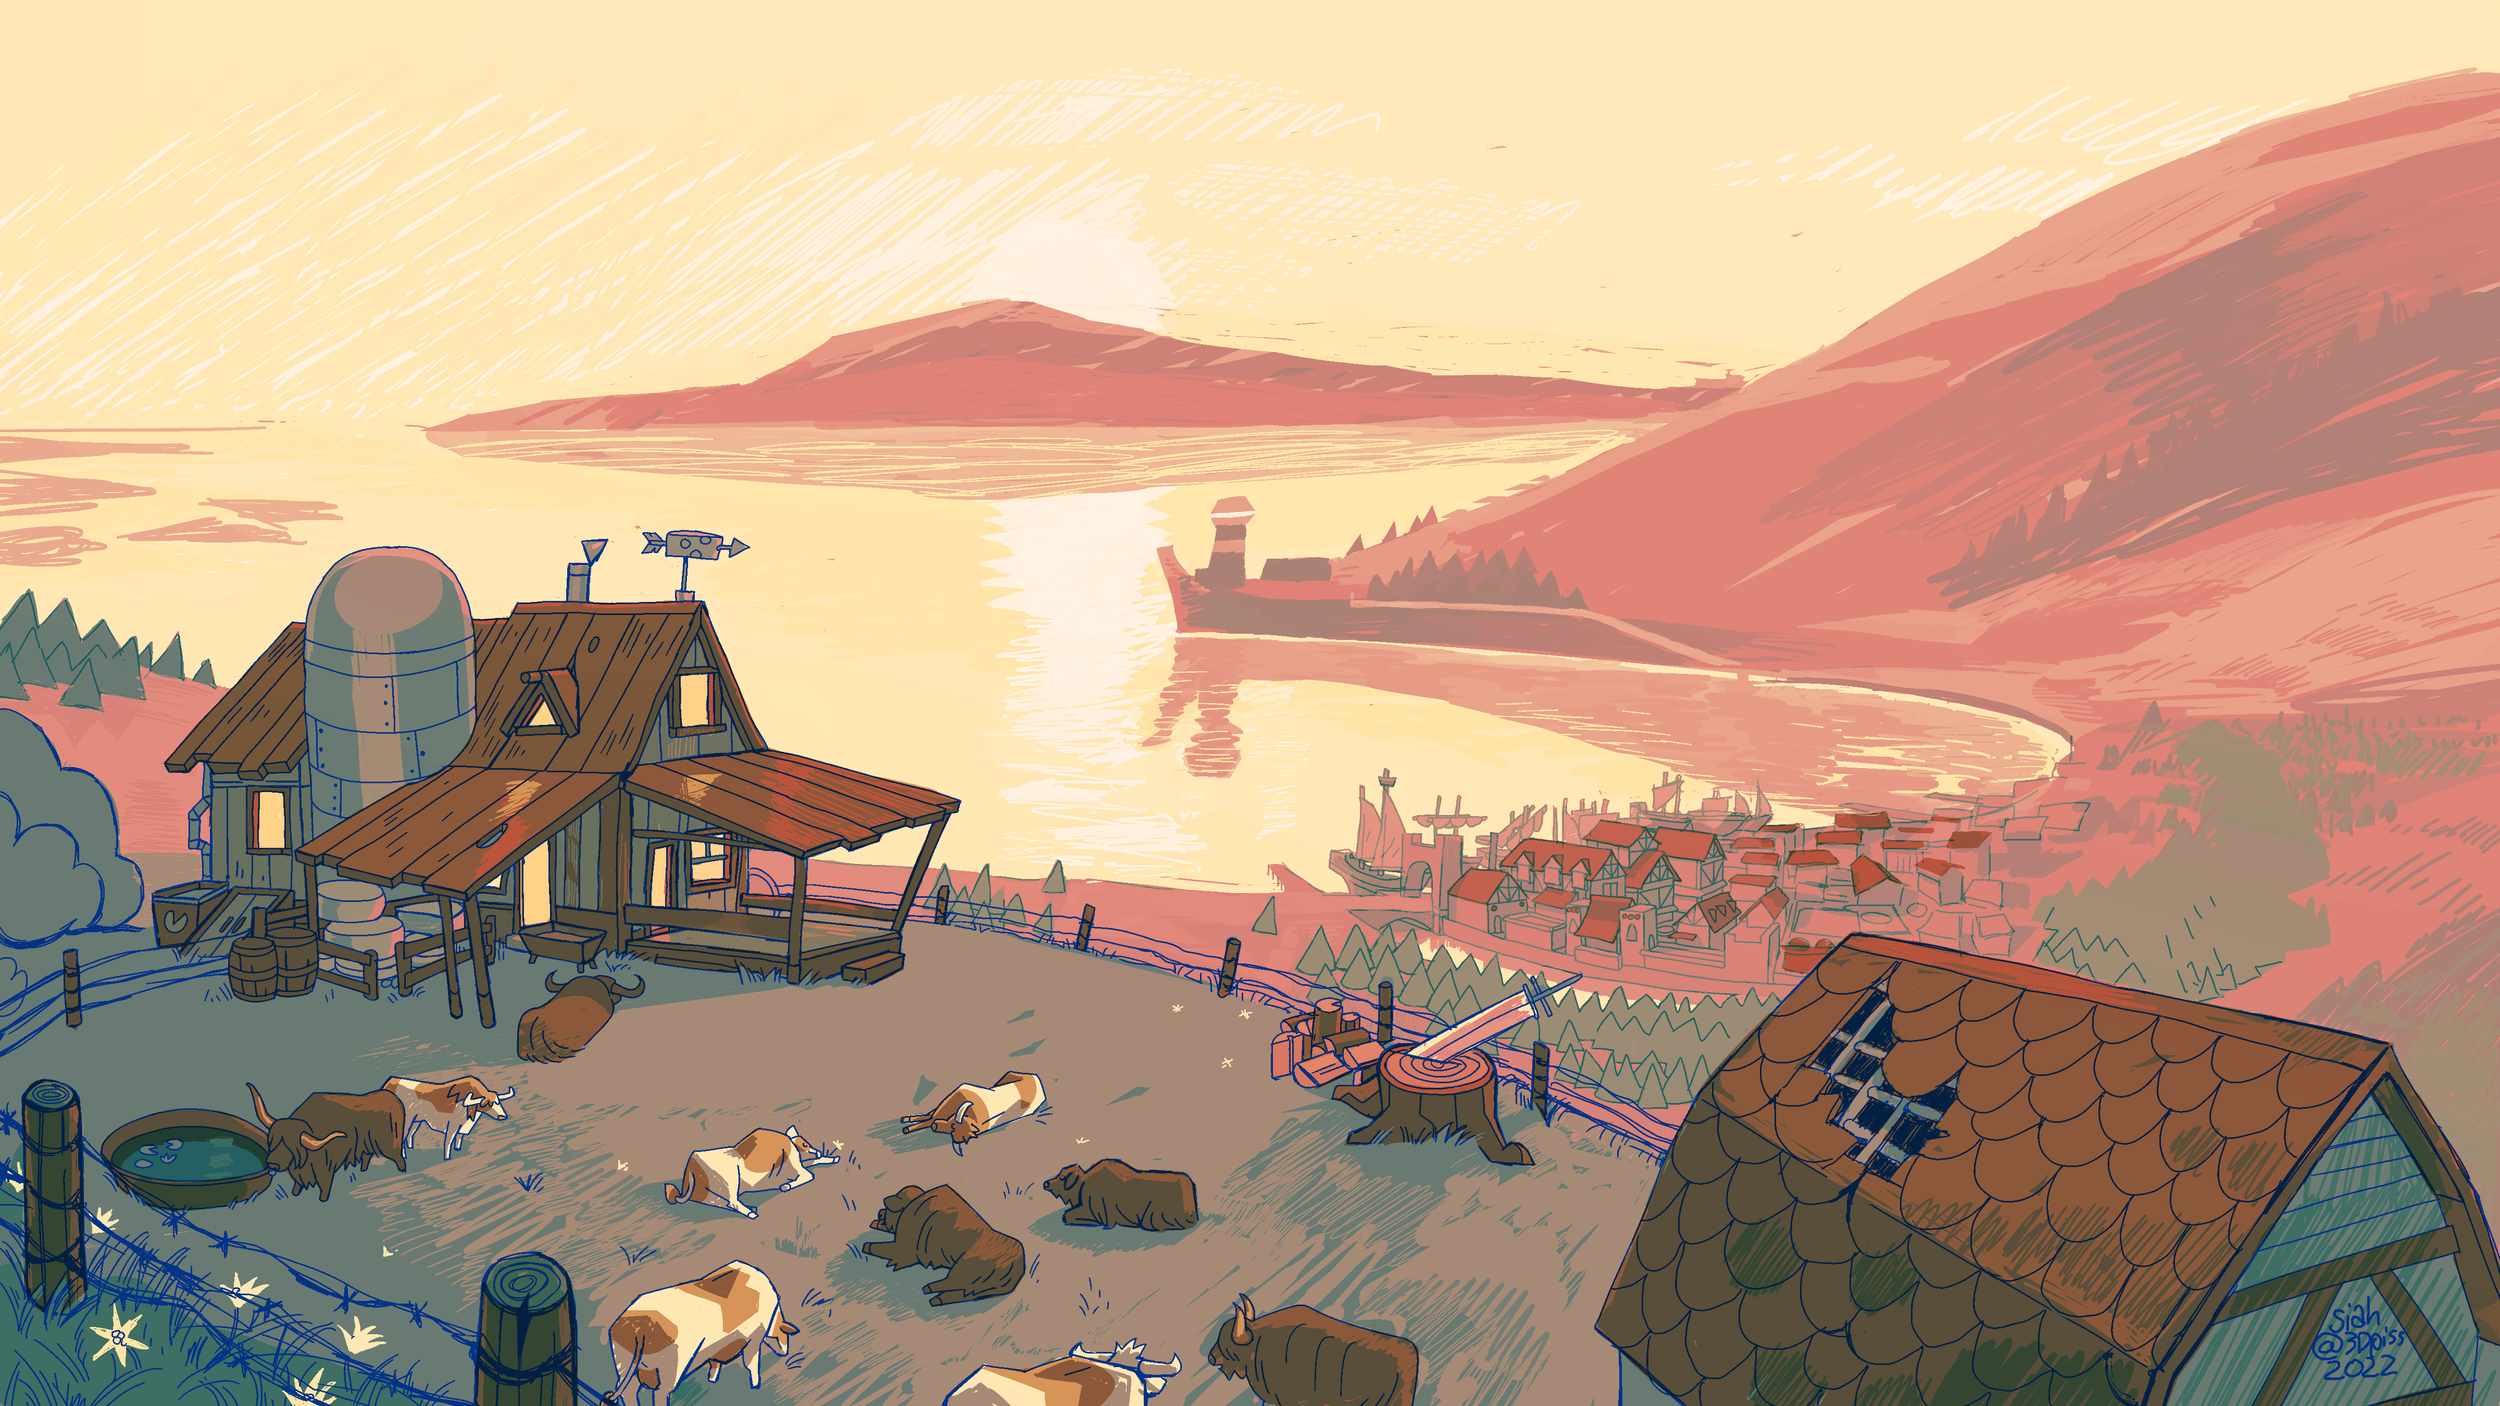
Our story begins in Paddlewick, a small town inside the Auraelian Empire, the dominant political force on Gorgonzola's continent of Emaralia. An imperialist, human-led government determined to conquer the continent, the Auraelian Empire makes life difficult for its ousted foes and their descendants (orcs, goblins, and the like). And so Gorgonzola sets out from her childhood farm to find a place where she can prove she belongs- and maybe even become a hero.
Donning her long-lost orcish mother's rusty sword and armor, the fighter sneaks out in the night, hoping to see the world and also begin the search for the mysterious parent she never knew. Her plan is put on pause when on the roads outside Paddlewick, she runs into Scram: a goblin wild magic sorcerer. Coming from the north and carrying a powerful crystal known as the Wild Shard, Scram is hoping to escape not just the empire's persecution, but also the pursuit of the Shard's former owner: a wizard known as Lord Tinderdick. After being attacked by a horrid monster known as a Grimlock, the two decide to stick together and protect one another.
That promise made, the town is promptly attacked by more Grimlock led by a drow, or dark elf, who have infiltrated the local lord’s mansion and stolen an important artifact. In exchange for their lives, the lord, Cravern Eaglebottom, instructs Zola and Scram to follow the attackers into the sewers and secure the unspecified item... and also maybe save some of the civilians who were captured, though he doesn’t care much about them. Just hours after their journey together begin, Zola, Scram, and local cleric-in-training Prya Altrui find themselves tracking the invaders through The Underdark, a labyrinth of vast caverns lying beneath the surface of the world, before coming upon a secret fortress base.
There, the three brave more unthinking Grimlock minions! Storming to the top of the fortress, Zola and Scram eavesdrop as the leader of the base, Brizalla, speaks with her superior: a dark, disembodied voice on the other end of a swirling crystal ball. Zola and Scram learn that the attack on Paddlewick was no random incident - the drow were instructed to seize the artifact, which was stolen from them by the Lord of Paddlewick. Moreover, they learn that this underground fortress belongs to an organization known only as THE EYE, who seems to be manipulating the Auraelian Empire from the inside.
Through a series of maneuvers that can only be described as reckless shenanigans, the trio slays the leader of the base; steals back the unknown artifact (which is locked inside an impenetrable case); and saves the civilians who are destined to be fed to Grimlocks. Escaping back to the surface, Prya returns to the temple to help the wounded, while Scram and Zola report to Lord Eaglebottom. However, when they arrive, they overhear Lord Cravern Eaglebottom speaking with the same disembodied voice that they had heard in Brizalla's fortress, revealing that The Eye’s infiltration runs deep. The voice reveals that the Lord Eaglebottom had planned on betraying The Eye to gain power - a vain, foolish pursuit the organization is aware of, and will now punish him for.
When they finally meet with the Lord, Zola and Scram lie about the success of their mission, secretly keeping the artifact to themselves, but ultimately finding themselves exiled from Paddlewick, their unjust reward for... saving civilians? Feeling betrayed, our heroes plan to leave Paddlewick at the crack of dawn. Zola gets a chance to say goodbye to her father, a sweet and caring cheese-farmer named Gianni. And then to Prya who, despite feeling the spark of teen romance ignite in the caverns beneath Paddlewick, feels that her place is with her people. After sharing an awkward first kiss, Zola has her last night of sleep in Paddlewick - Scram too.
But they do not find rest when they close their eyes. While they sleep, both have vivid visions of their destinies. In Scram’s, the Shard sings a prophecy of coming change -
Oh, behold the end / See the past is now exiled / Your life is the spark / See the flames grow wild….
Meanwhile, Zola's dream transports her to a city floating in the Astral Sea, a plane of existence beyond the Material Plane of Feyfall. There, she wanders through a fiery landscape consumed by combat, and is called out to by a one-eyed god, who commands her to follow her bloodline and “RETURN” to her people. She’s saved from this command by a small mote of green light, one that leads her away from the violence and towards a silvery portal, which brings her back to her still-sleeping body.
Jolting awake, she and Scram find they’re not alone: the green light followed Zola back to the waking world, revealing himself to be a familiar - a cow-patterned weasel Zola dubs Stilton.
And that’s where the first arc of Try Not to Die concludes! Tune in at Chapter Twelve to begin Arc II, The Orcyssey, or continue on to the next recap!